Hi there 👋 ,
Welcome back to another exciting journey into the modern web development landscape. Today, we’re diving deep into the realm of React project injection using Web Components. 🚀
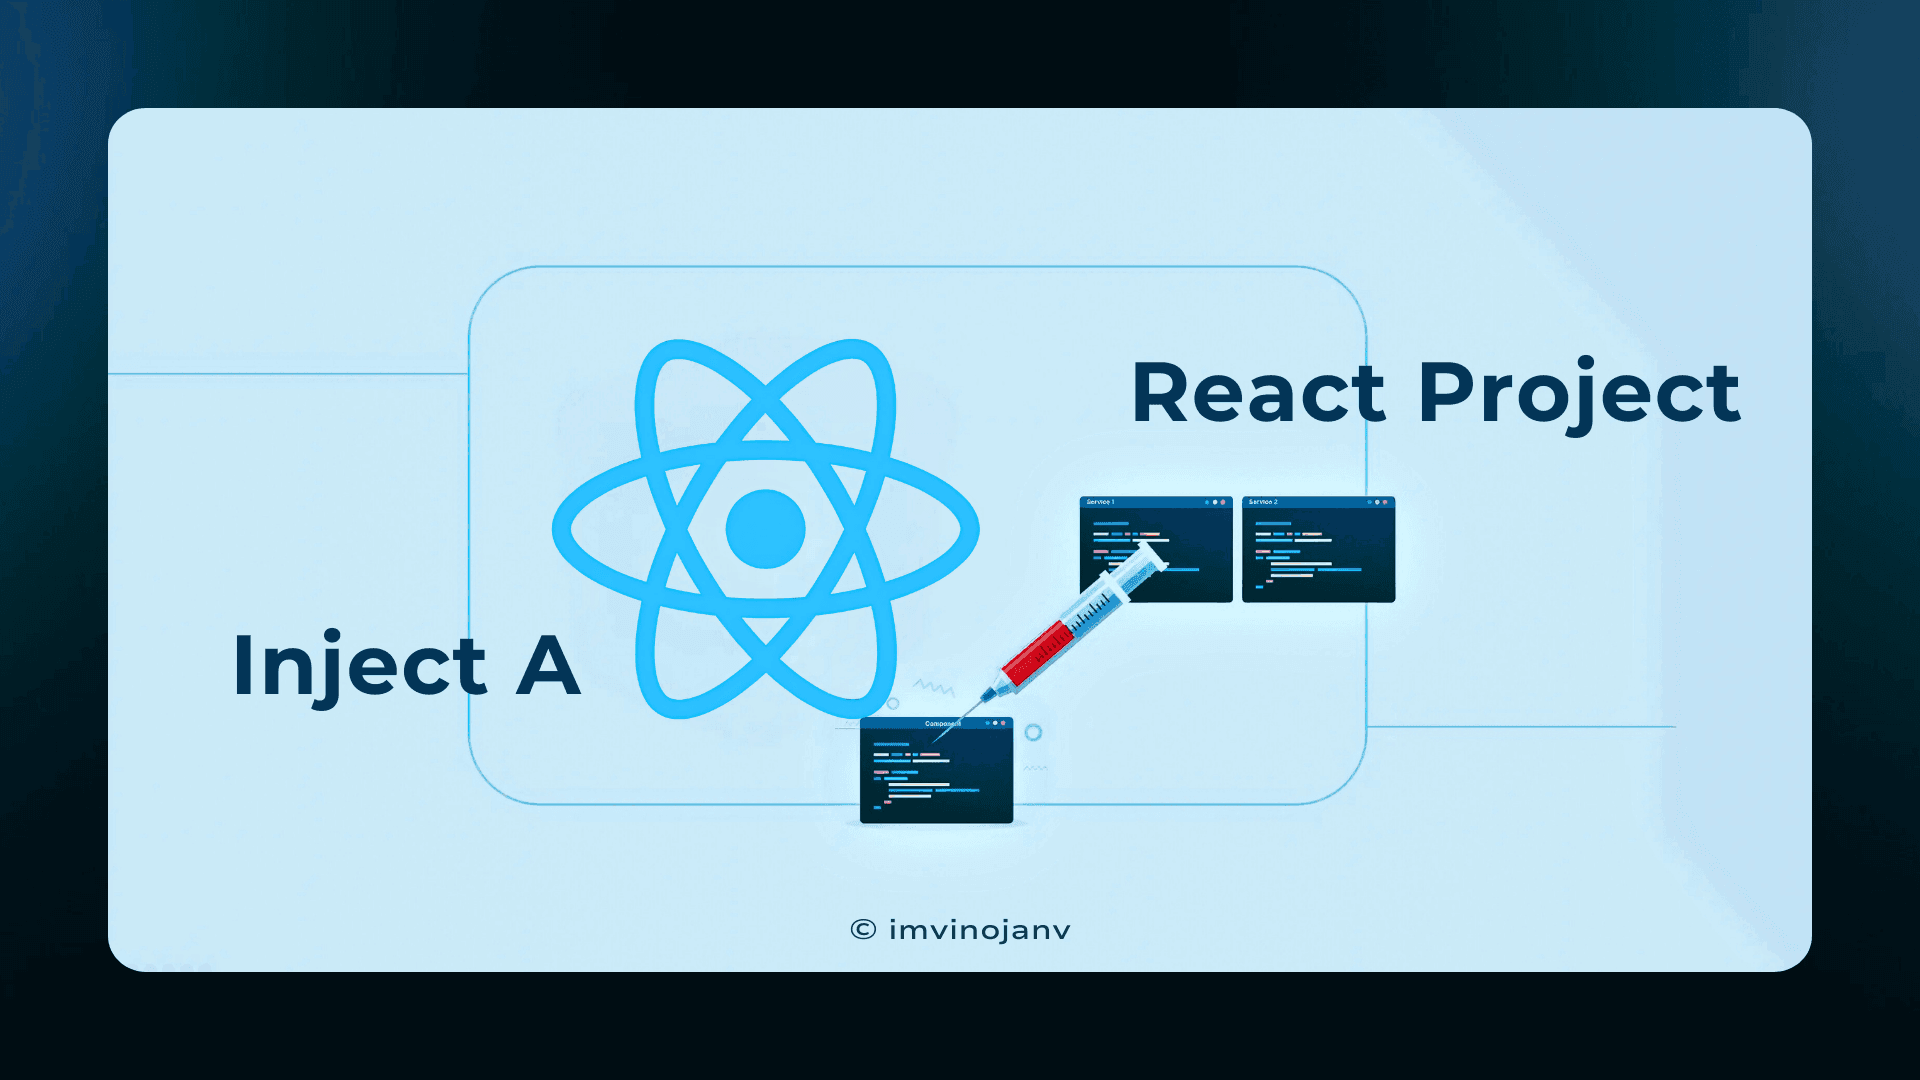
📑 In this tutorial, we’ll explore how to create a reusable React component as a web component (Project A) , build it into JS and CSS files, and dynamically inject it into another React project (Project B) . This approach will enable you to enhance modularity, simplify maintenance, and improve scalability in your React applications. Are you ready to take your React skills to the next level? Let’s get started! 🎉
You can create a new React project using the following command:
npx create-react-app project-a Create a simple component for Project A that will be injected into Project B.
import React from "react" ;
const App = ({ eventId , version }) => { return ( < div > < h2 >Project A</ h2 > < p >Event ID: { eventId } </ p > < p >Version: { version } </ p > </ div > ); };
export default App ; Use customElements.define() to create a web component that can be mounted into Project B.
import React from "react" ; import ReactDOM from "react-dom/client" ; import App from "./App" ;
// Function to define the web component export function defineWebComponent ( name , Component ) { if ( ! customElements . get ( name )) { // Project A is exposed as a web component and made it injectable customElements . define ( name , class extends HTMLElement { constructor () { super ();
// Attach Shadow DOM if ( ! this . shadowRoot ) { this . attachShadow ({ mode : "open" }); }
let container = this . shadowRoot . querySelector ( ".custom-dashboard" ); if ( ! container ) { container = document . createElement ( "div" ); container . className = "custom-dashboard" ; this . shadowRoot . appendChild ( container ); } this . root = ReactDOM . createRoot ( container );
this . eventId = null ; this . version = "" ; }
connectedCallback () { this . renderComponent (); }
disconnectedCallback () { this . root . unmount (); }
// Initialize method to be called by the host website init ({ eventId , version }) { this . eventId = eventId ; this . version = version . replace ( "v" , "" );
const styleId = `custom-dashboard-style` ;
// Load CSS into Shadow DOM if not already loaded const existingLink = this . shadowRoot . getElementById ( styleId ); if ( ! existingLink ) { const link = document . createElement ( "link" ); link . rel = "stylesheet" ; link . href = ` ${ process . env . REACT_APP_CSS_BASE_URL } /main.css` ; // Use your built js/css storage bucket URL in .env link . id = styleId ;
link . onload = () => console . log ( `CSS loaded: ${ link . href } ` ); link . onerror = () => console . error ( `Failed to load CSS: ${ link . href } ` );
this . shadowRoot . appendChild ( link ); }
// Render component after initialization this . renderComponent (); }
renderComponent () { if ( ! this . eventId || ! this . version ) { this . root . render ( null ); return ; }
// Render the React component this . root . render ( < App eventId = { this . eventId } version = { this . version } />, ); } }, ); } }
// Define the custom element defineWebComponent ( "custom-dashboard" , App );
// Uncomment below this codes for the local development
// const rootElement = document.getElementById("root"); // const renderDOM = ReactDOM.createRoot(rootElement);
// const eventId = "bet"; // const version = "1.0";
// renderDOM.render( // <App eventId={this.eventId} version={this.version} /> // ); REACT_APP_CSS_BASE_URL = https://example-bucket.s3.amazonaws.com You need to modify the build scripts to generate JavaScript and CSS files that can be imported into another project.
Open package.json and modify the scripts section:
"scripts" : { "start" : "react-scripts start" , "build" : "react-scripts build && node scripts/postbuild.js" } Create a scripts/postbuild.js file to copy the build files to a storage bucket or a specific folder:
const fs = require ( "fs" ); const path = require ( "path" );
const buildPath = path . resolve ( __dirname , "../build" ); const outputPath = path . resolve ( __dirname , "../dist" );
if ( ! fs . existsSync ( outputPath )) { fs . mkdirSync ( outputPath ); }
// Copy JS and CSS files const files = fs . readdirSync ( buildPath ); files . forEach (( file ) => { if ( file . endsWith ( ".js" ) || file . endsWith ( ".css" )) { fs . copyFileSync ( path . join ( buildPath , file ), path . join ( outputPath , file )); console . log ( `Copied: ${ file } ` ); } });
console . log ( "Build files copied to dist folder." ); Build the project using:
After building, the dist or folder will contain the .js and .css files:
root/
├── build/           # Full React build output
│   ├── static/
│   ├── index.html
│   ├── main.js
│   └── main.css
├── dist/            # Cleaned files for embedding
│   ├── main.js
│   └── main.css
├── scripts/
│   └── postbuild.js
└── src/
    ├── index.js
    └── App.jsx
You should use the files inside the dist folder (main.js and main.css) for the injection. because its Clean, Minified, and Optimized for performance.
You can upload these files to an S3 bucket or any public CDN. Or else you can set up a CICD pipeline to build the project and automatically store those files into a storage bucket.
https://example-bucket.s3.amazonaws.comCreate another React project where Project A will be injected:
npx create-react-app project-b Create a component to load the JS and CSS files dynamically and initialize the web component.
src/components/ProjectAPreview.jsx import React , { useEffect , useState } from "react" ;
const ProjectAPreview = () => { const [ reloadKey , setReloadKey ] = useState ( 1 ); const [ show , setShow ] = useState ( false );
const selectedVersion = "1.0" ; const baseUrl = "https://example-bucket.s3.amazonaws.com" ; // Put it on n.env file
// Component reloading and cleanup const handleReload = () => { console . log ( "Reloading..." );
setShow ( false ); removeScript ( ` ${ baseUrl } /main.js` ); removeStylesheet ( ` ${ baseUrl } /main.css` );
injectStylesheet ( ` ${ baseUrl } /main.css` ); injectScript ( ` ${ baseUrl } /main.js` );
setReloadKey (( prevKey ) => prevKey + 1 );
setTimeout (() => { initProjectA (); setShow ( true ); }, 1000 ); };
useEffect (() => { setShow ( false );
injectStylesheet ( ` ${ baseUrl } /main.css` ); injectScript ( ` ${ baseUrl } /main.js` );
setTimeout (() => { initProjectA (); setShow ( true ); }, 1000 );
return () => { removeScript ( ` ${ baseUrl } /main.js` ); removeStylesheet ( ` ${ baseUrl } /main.css` ); }; }, [ reloadKey , selectedVersion ]);
const initProjectA = () => { console . log ( "Initializing Project A with version:" , selectedVersion );
const dashboard = document . querySelector ( "custom-dashboard" ); if ( dashboard ?. init ) { dashboard . init ({ eventId : "project-a-event" , version : selectedVersion , }); } };
const injectScript = ( src ) => { const script = document . createElement ( "script" ); script . src = src ; script . async = false ; script . onload = () => console . log ( `Script loaded: ${ src } ` ); document . body . appendChild ( script ); };
const removeScript = ( src ) => { const existingScript = document . querySelector ( `script[src=" ${ src } "]` ); if ( existingScript ) { existingScript . remove (); console . log ( `Script removed: ${ src } ` ); } };
const injectStylesheet = ( href ) => { const existingLink = document . querySelector ( `link[href=" ${ href } "]` ); if ( ! existingLink ) { const link = document . createElement ( "link" ); link . rel = "stylesheet" ; link . href = href ; link . onload = () => console . log ( `CSS loaded: ${ href } ` ); document . head . appendChild ( link ); } };
const removeStylesheet = ( href ) => { const existingLink = document . querySelector ( `link[href=" ${ href } "]` ); if ( existingLink ) { existingLink . remove (); console . log ( `CSS removed: ${ href } ` ); } };
return ( < div key = { reloadKey } > < div > < button onClick = { handleReload } >Reload Project</ button > </ div > < div > { ! show ? ( < p >Initializing...</ p > ) : ( < custom-dashboard style = { { width : "100%" } } ></ custom-dashboard > ) } </ div > </ div > ); };
export default ProjectAPreview ; Here I am passing the data (eventId and version) from Project B to Project A using the init() method, this is more like prop passing or data injection .
import React from "react" ; import ProjectAPreview from "./components/ProjectAPreview" ;
const App = () => { return ( < div > < h2 >This is Project B</ h2 > < ProjectAPreview /> </ div > ); };
export default App ;
Open your browser at http://localhost:3000.
The Project A component should be injected into Project B.
Click the Reload Project button to reload it dynamically.
This approach allows you to encapsulate a React-based project into a standalone component that can be injected into any other React project (or even non-React projects) using plain JavaScript. It’s lightweight, modular, and easy to maintain! 😎
I appreciate you taking the time to read this article.🙌
Before you move on to explore the next article, don’t forget to give your claps 👏 for this article and share with your friends .
Stay connected with me on social media. Thanks for your support and have a great rest of your day! 🎊
✍️ Vinojan Veerapathirathasan.